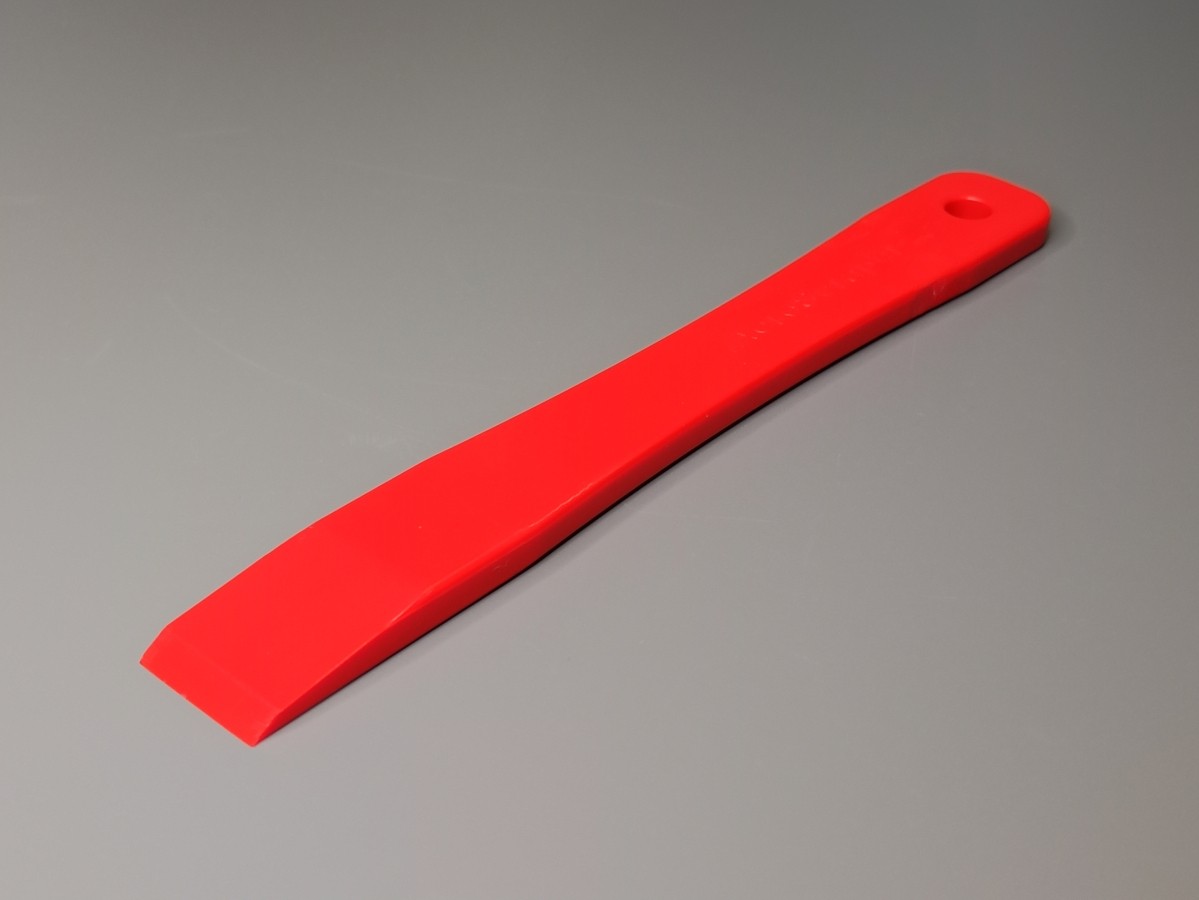
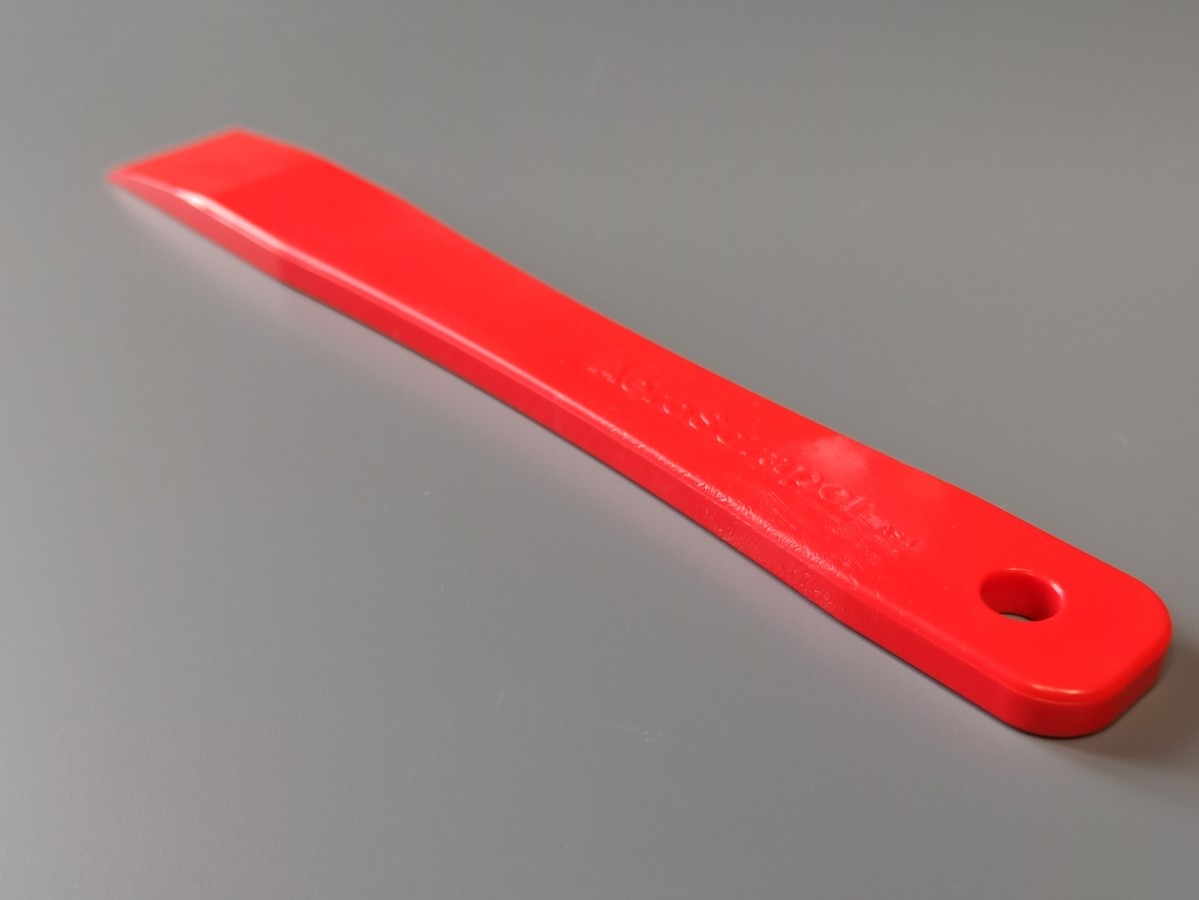
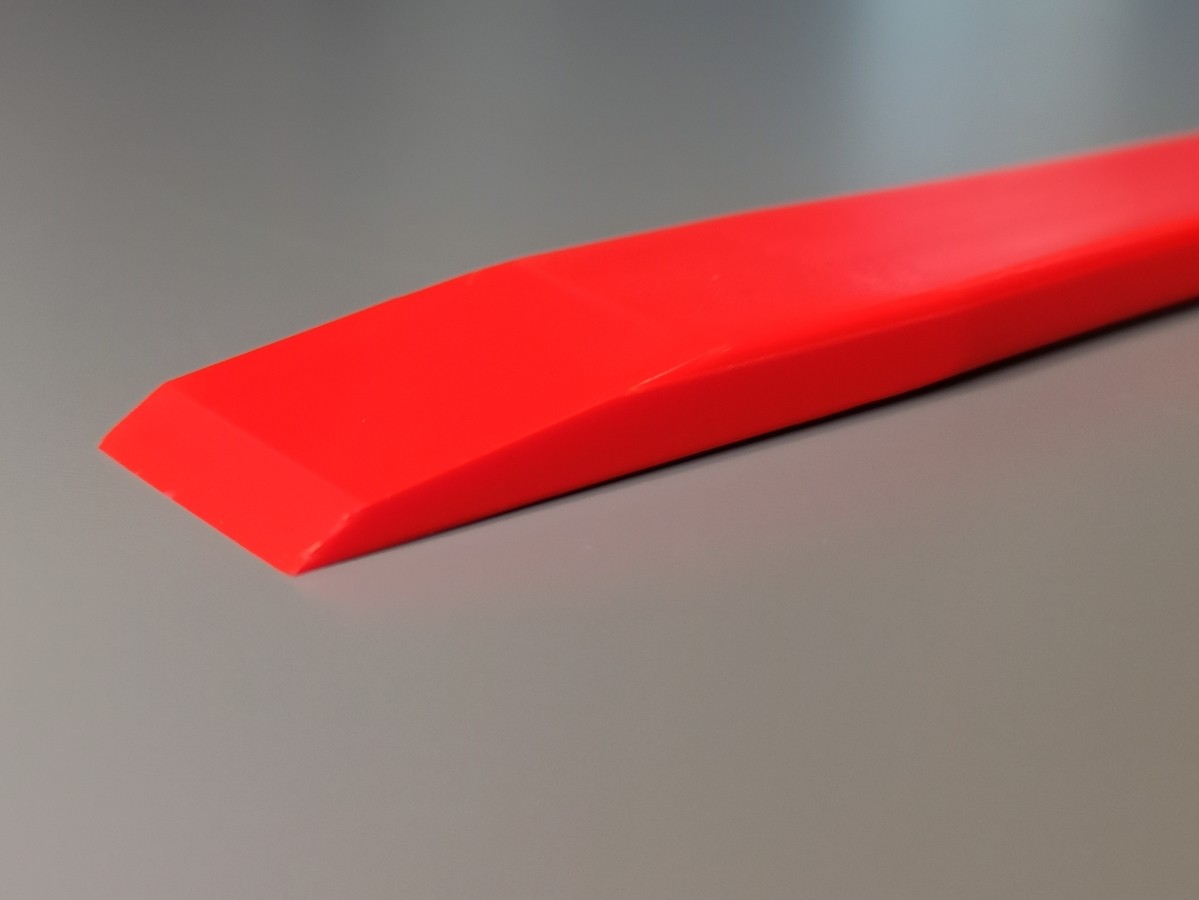
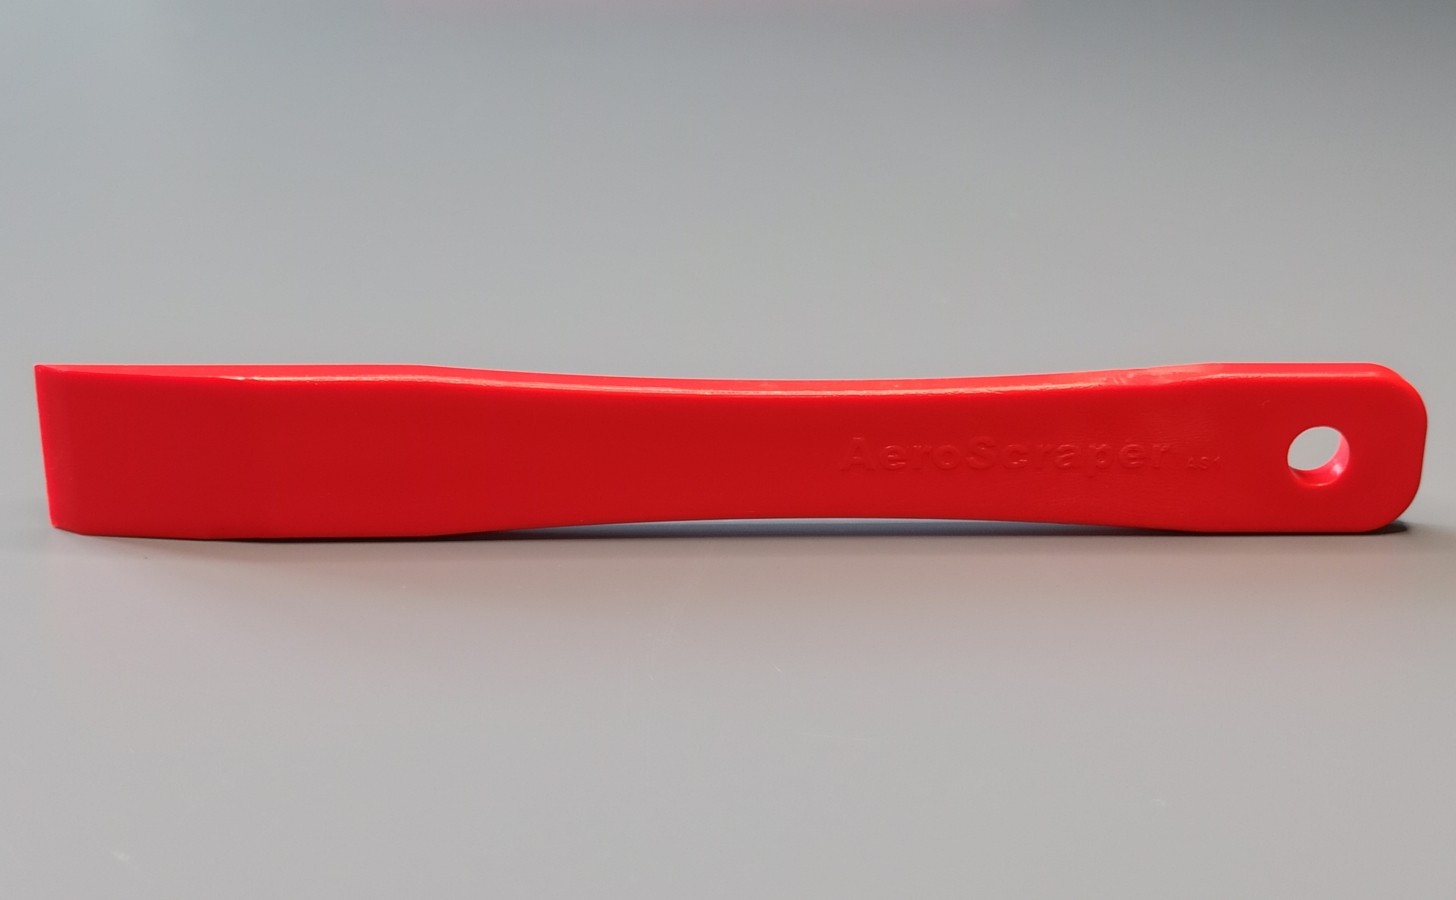
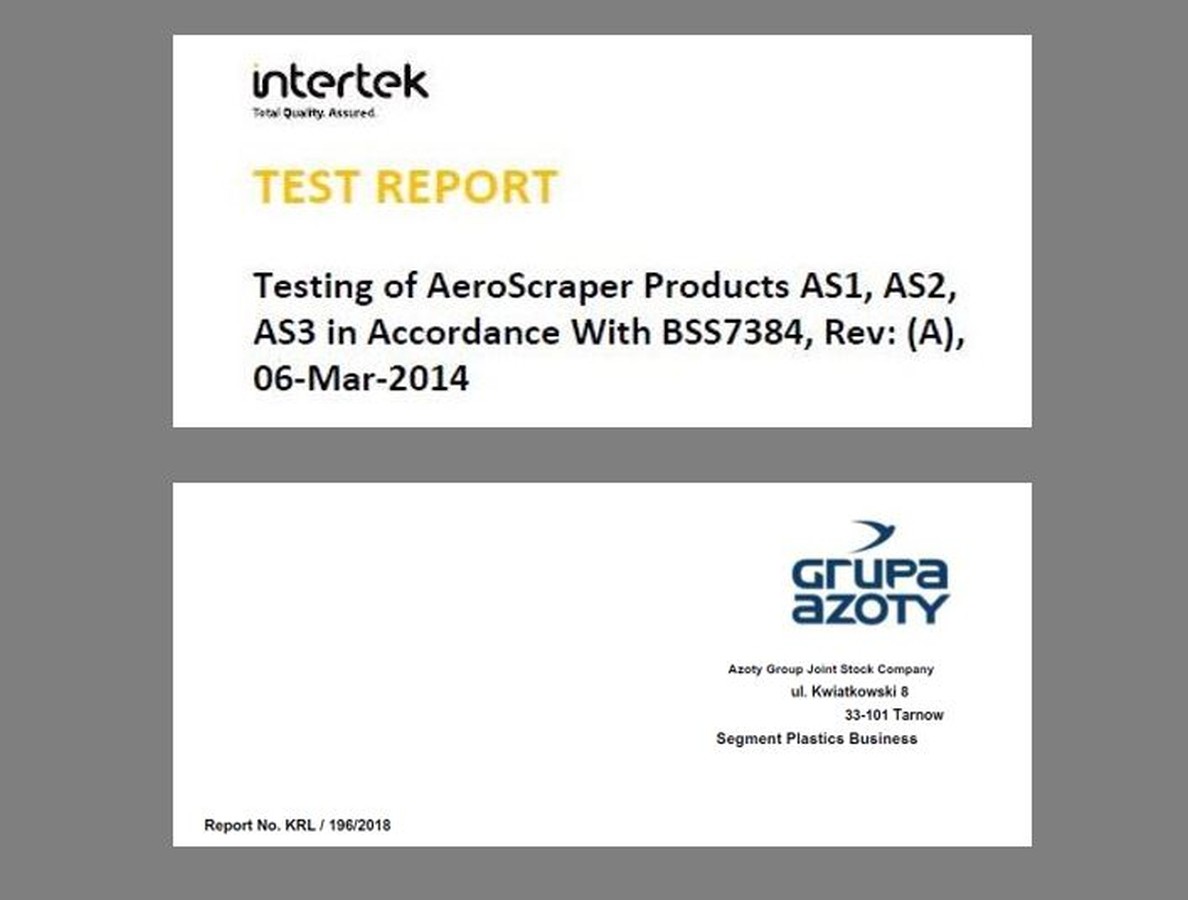
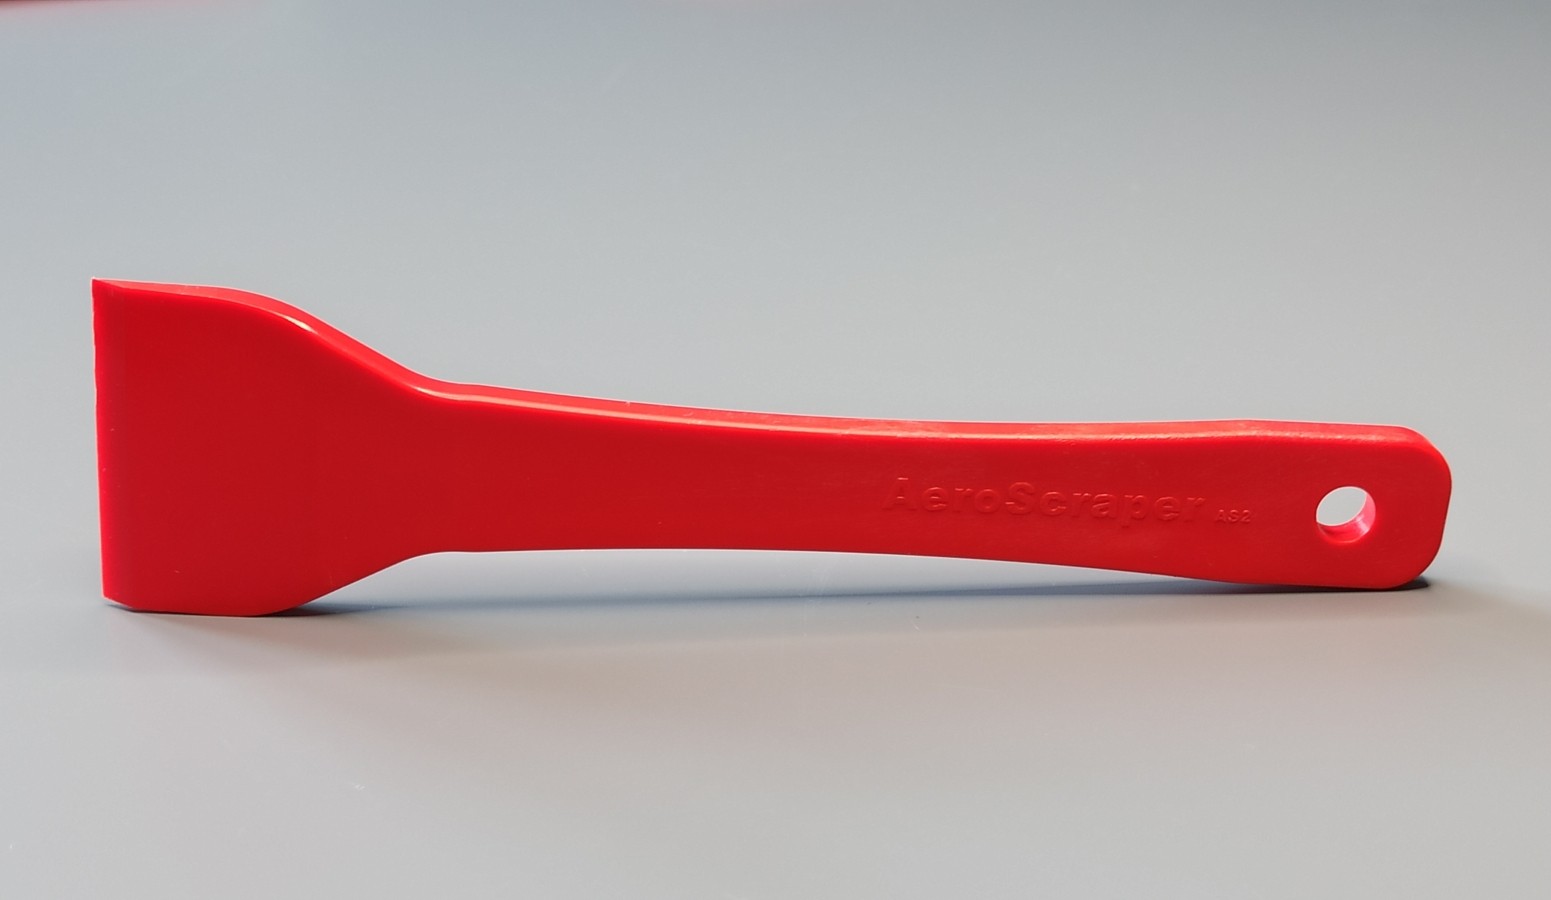
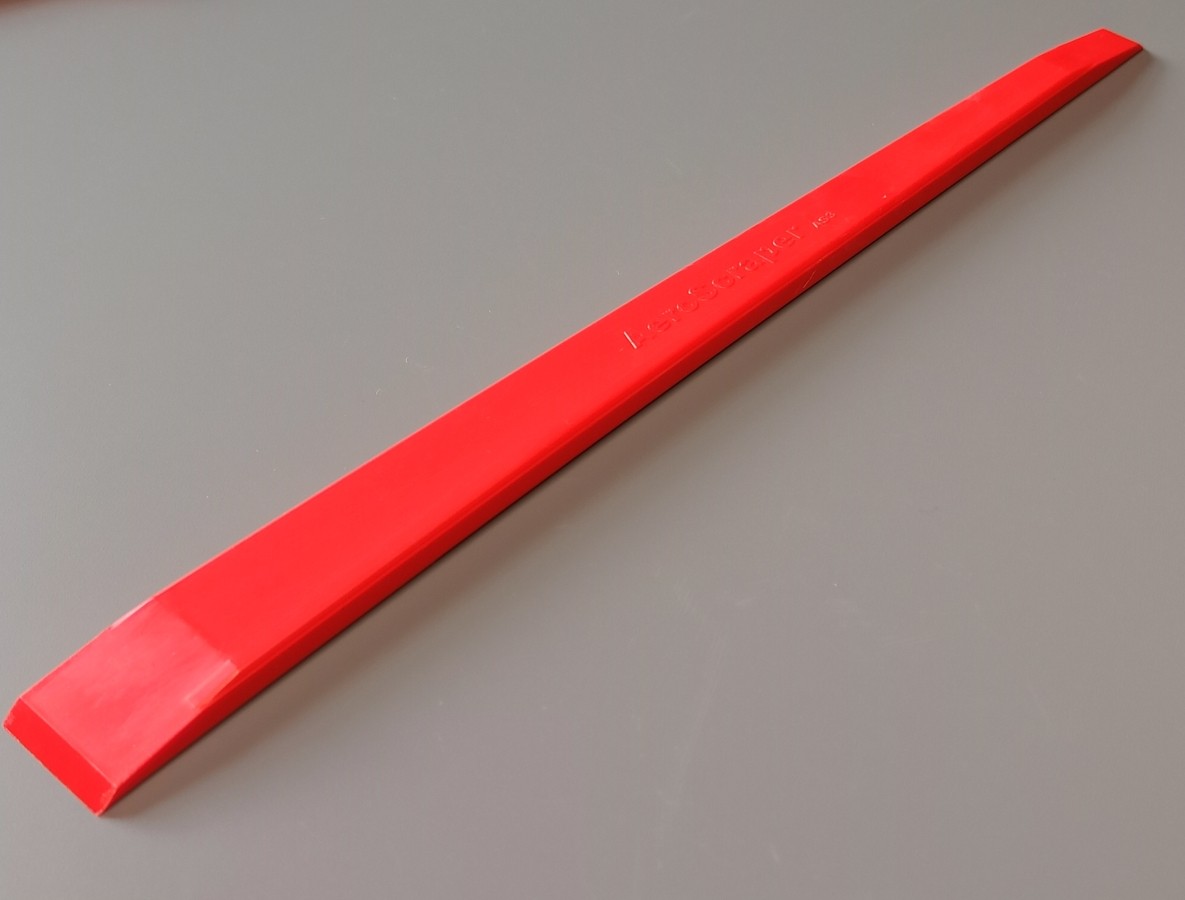
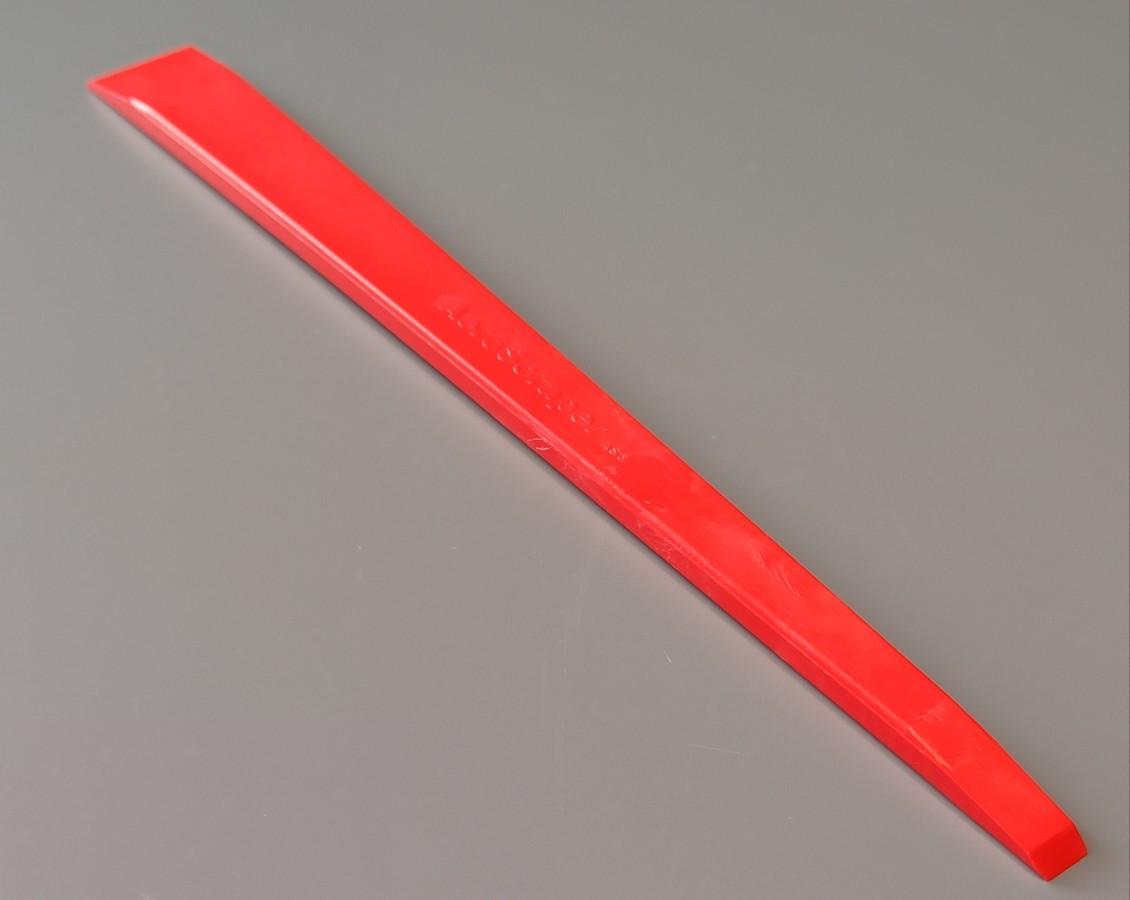
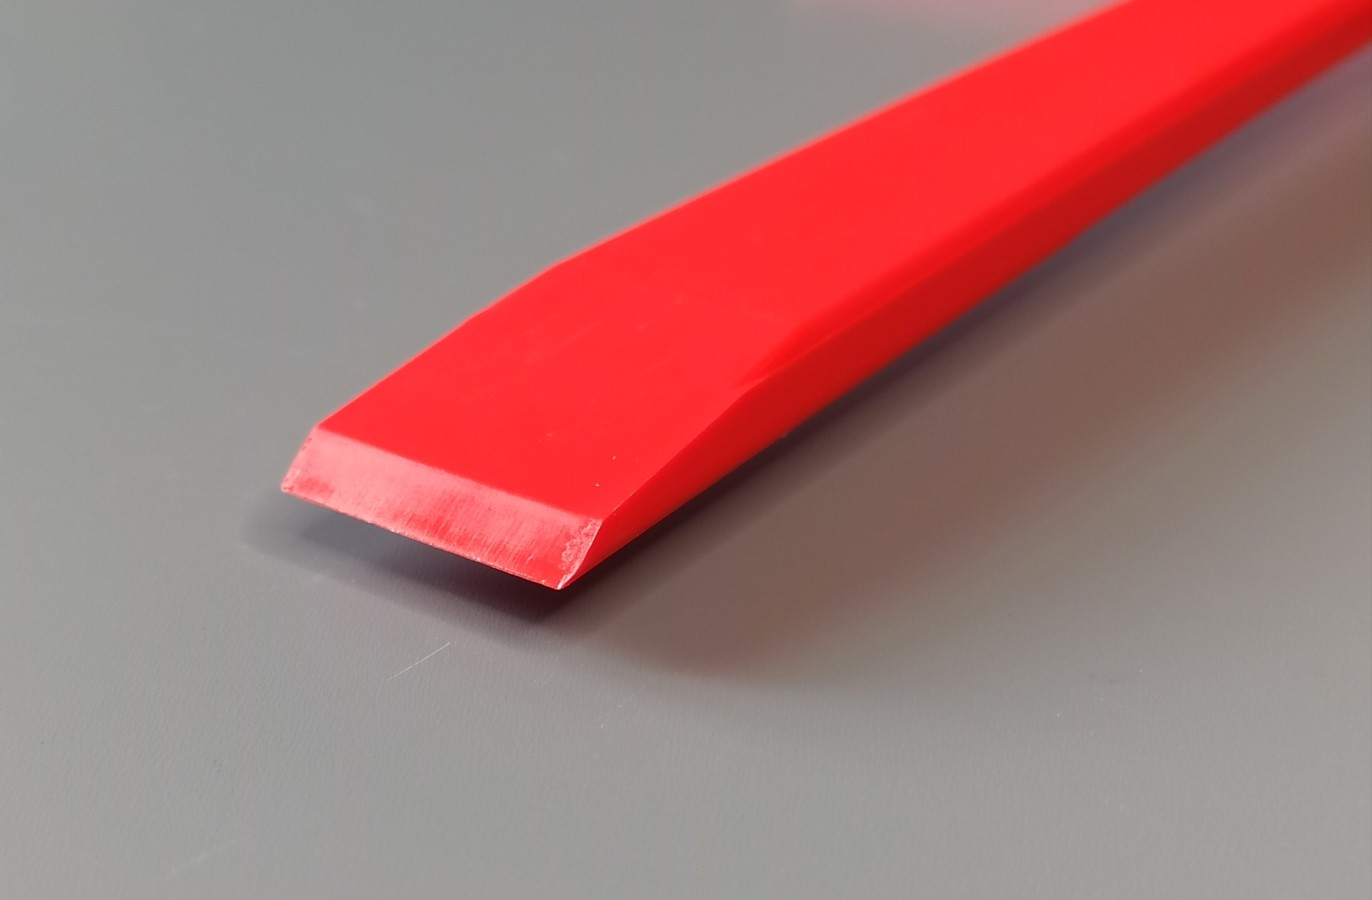
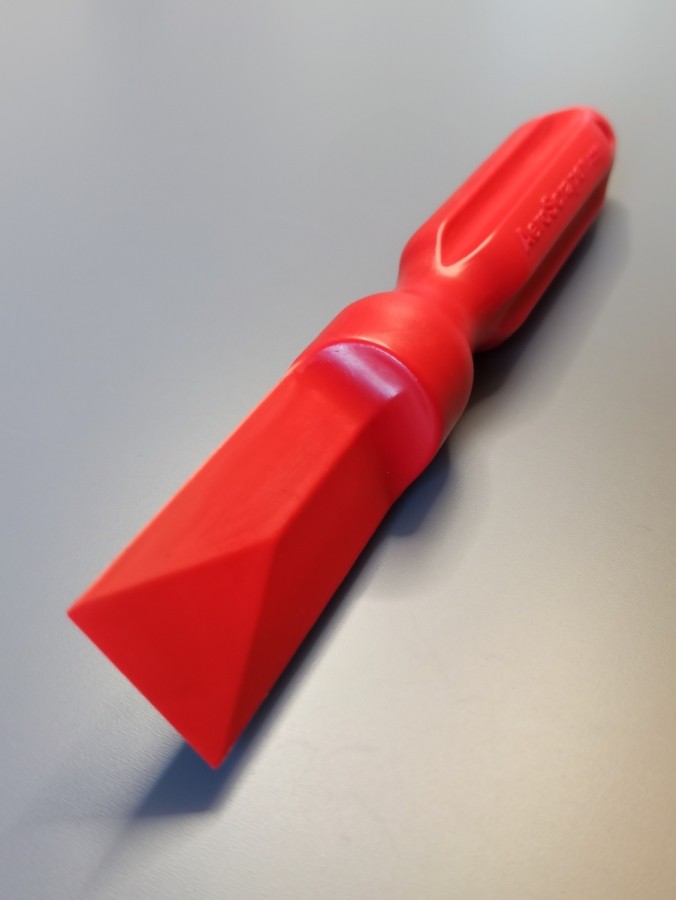
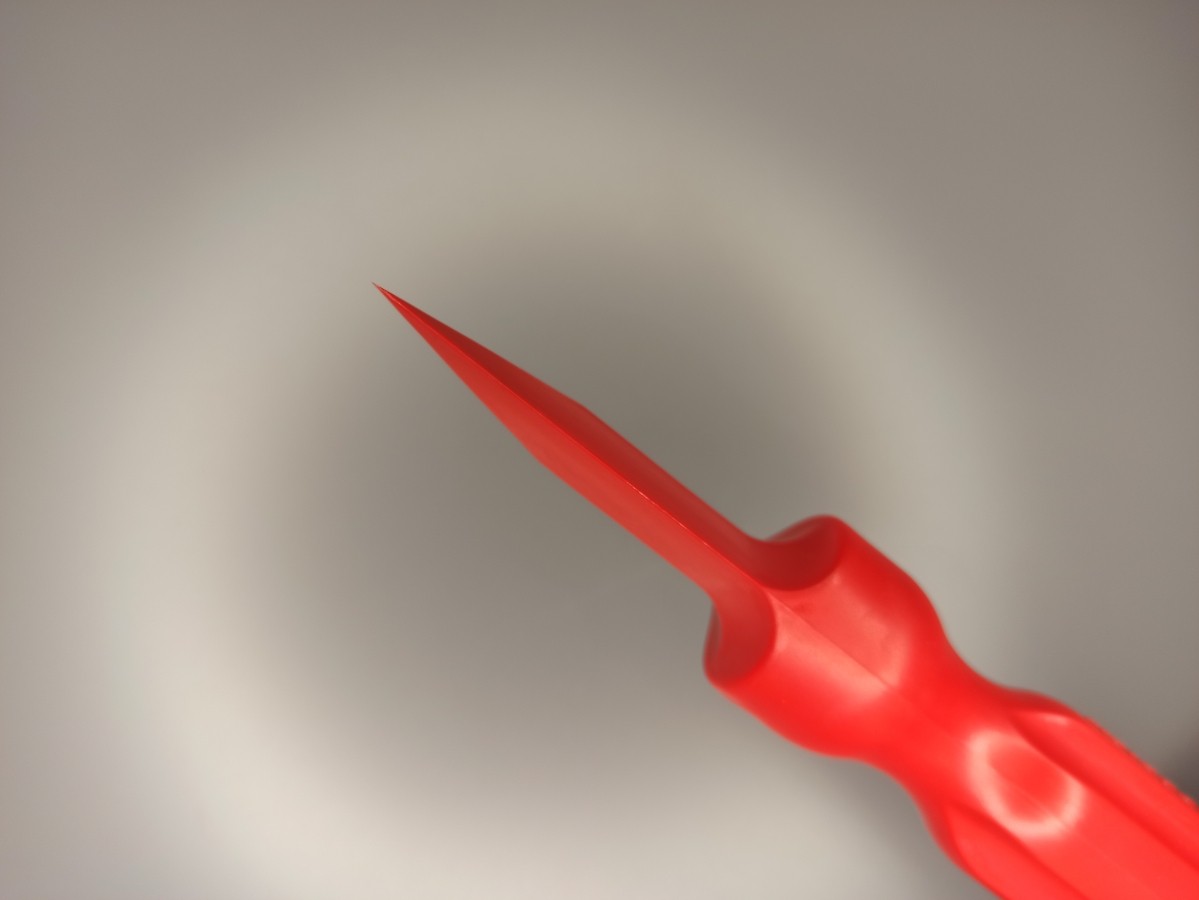
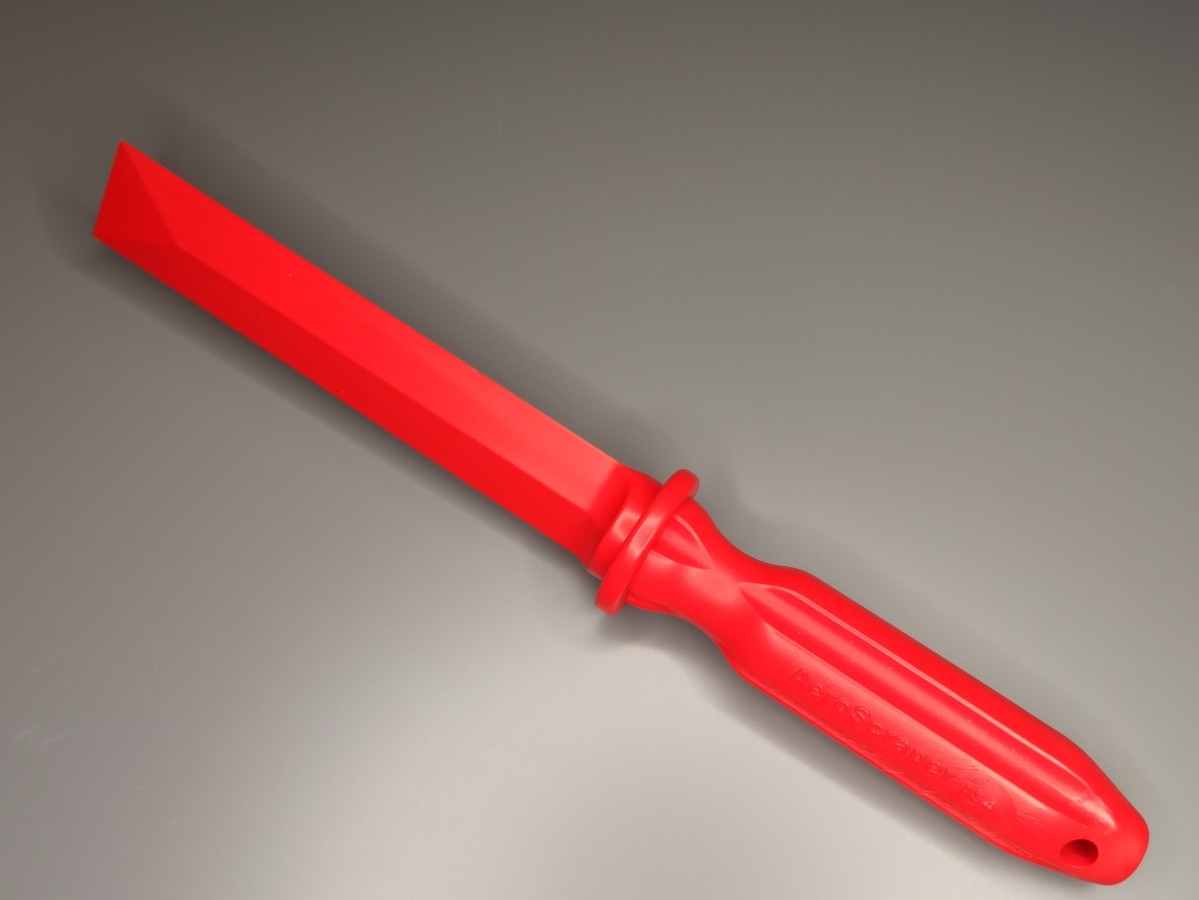
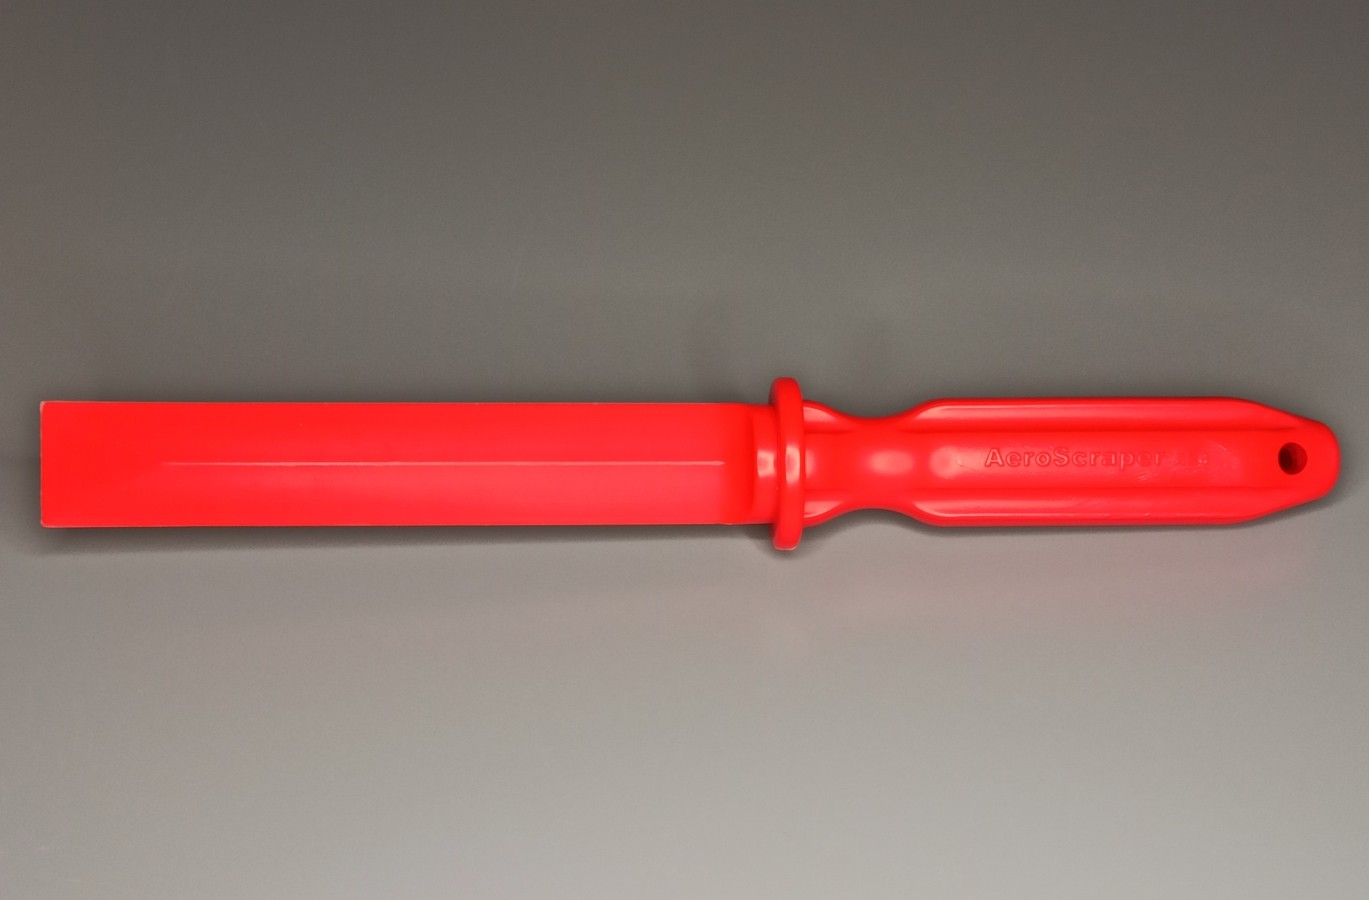
Producer of semi crystalline thermoplastic sealant removing tools for Aviation MRO.
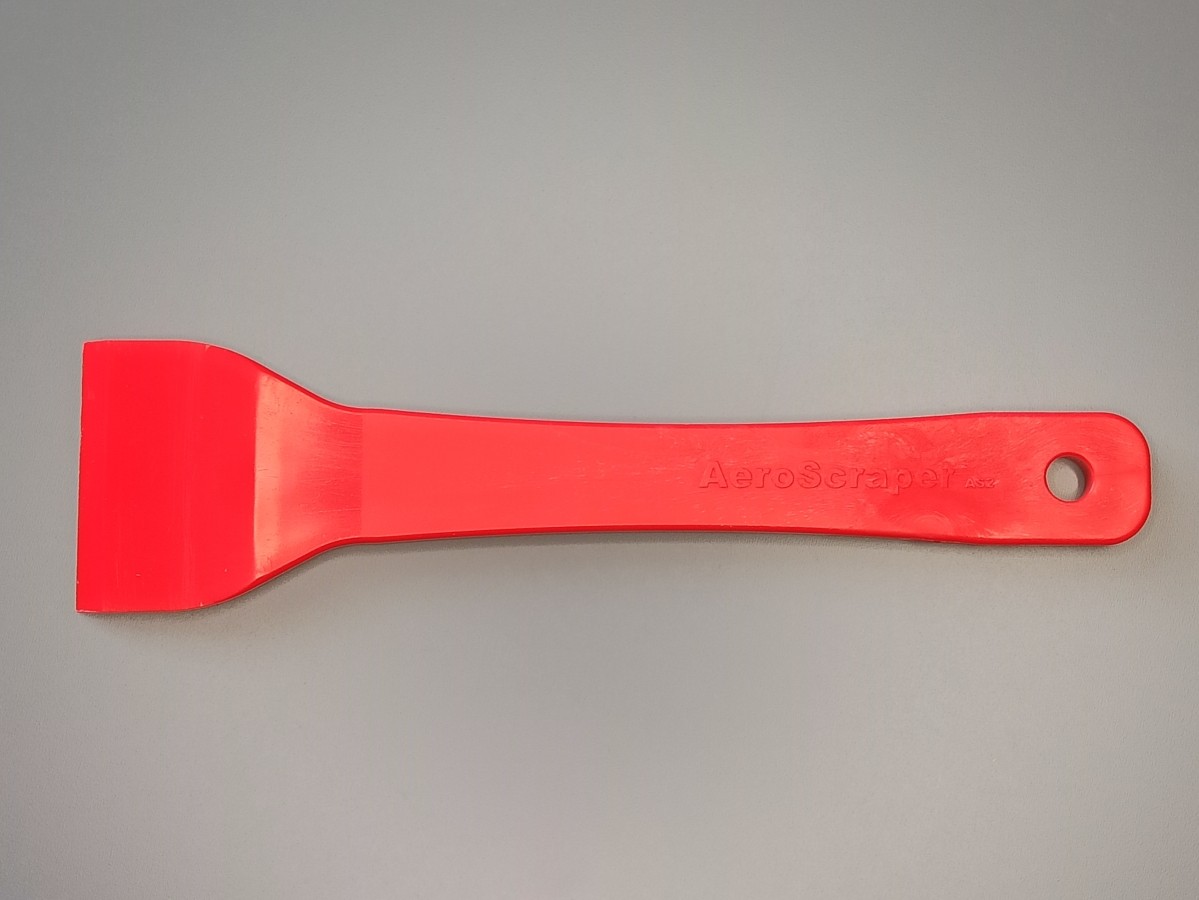
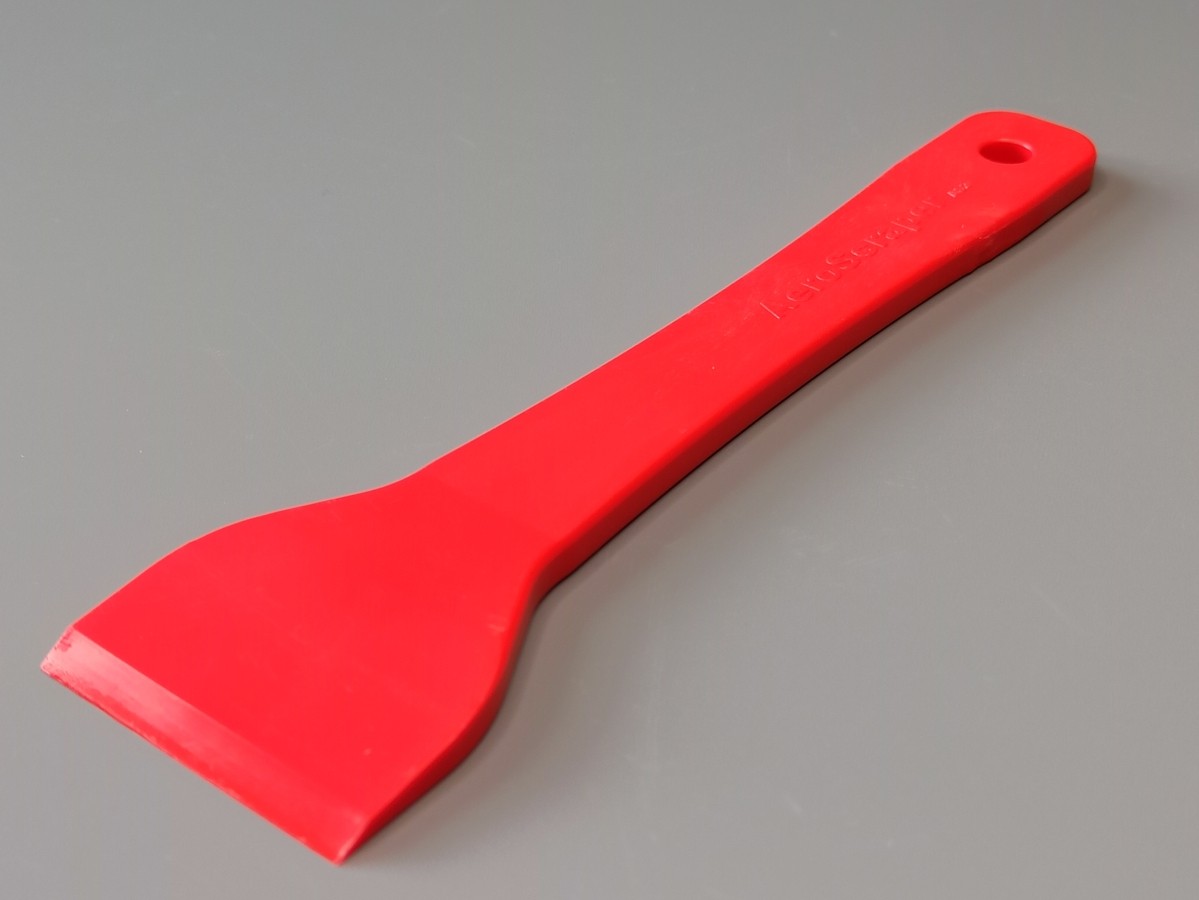
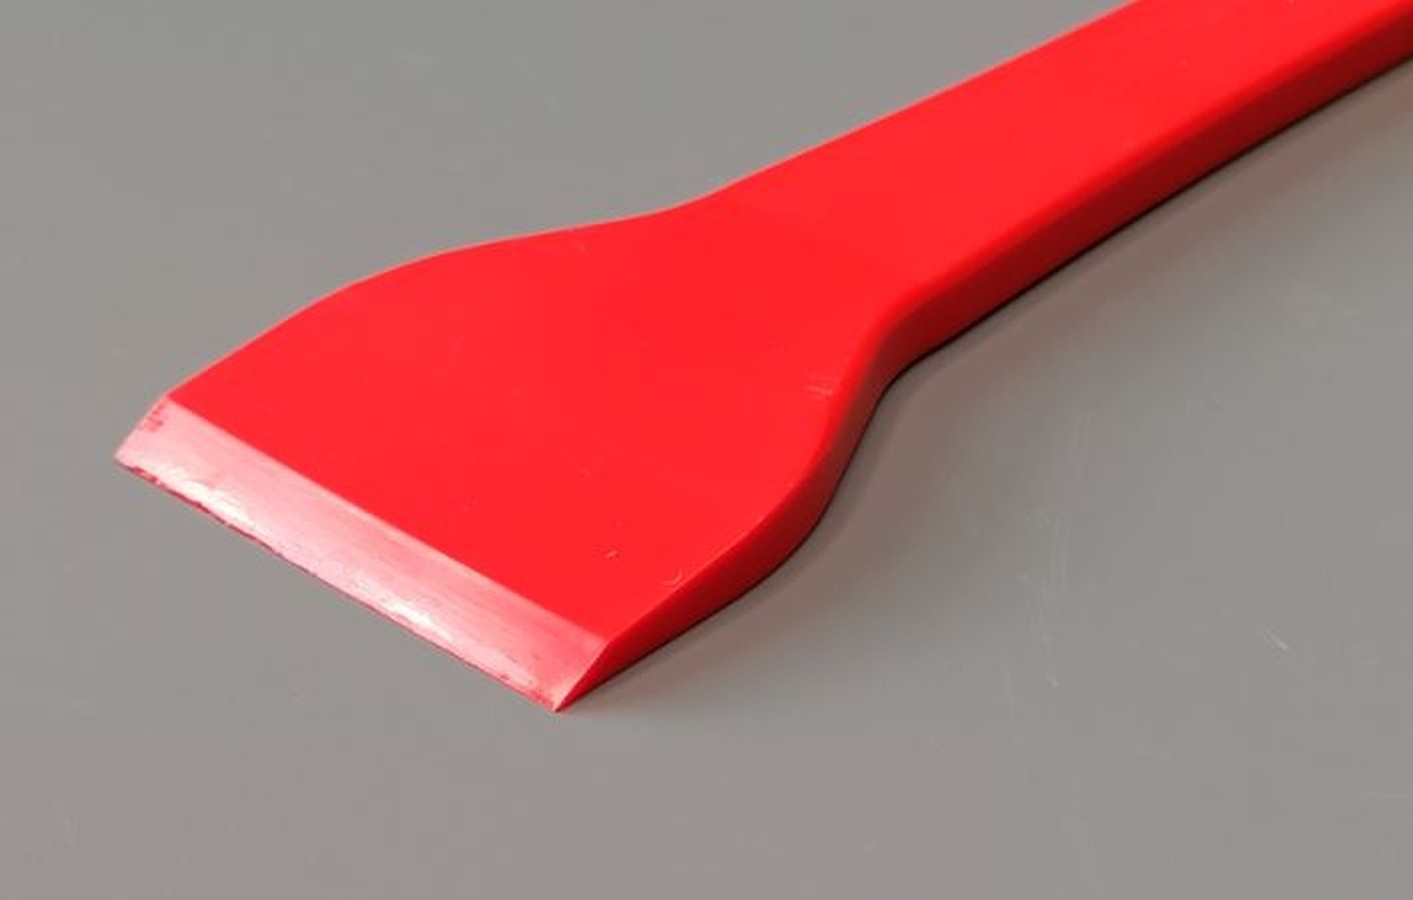
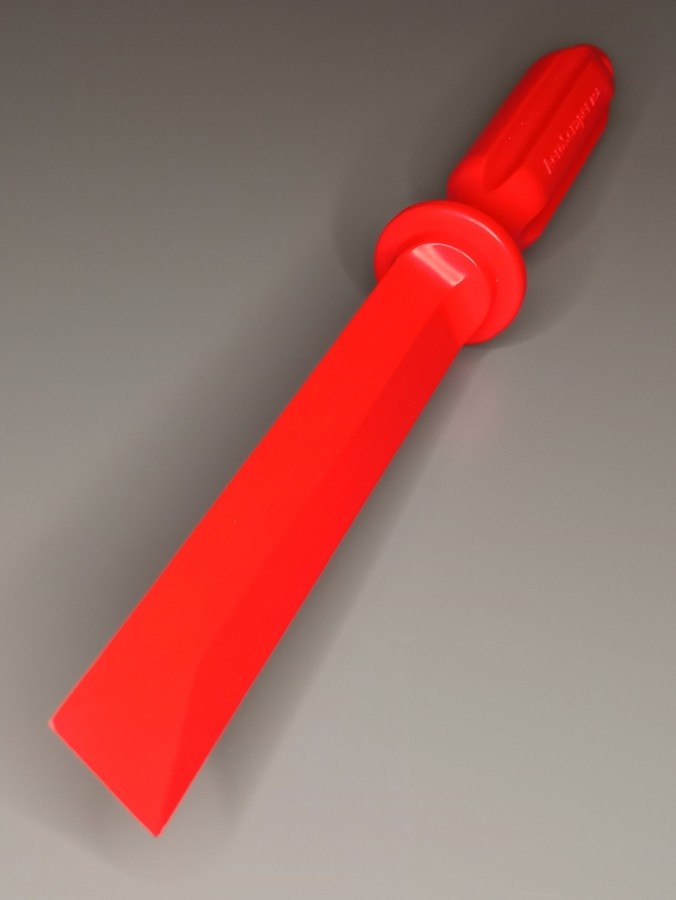
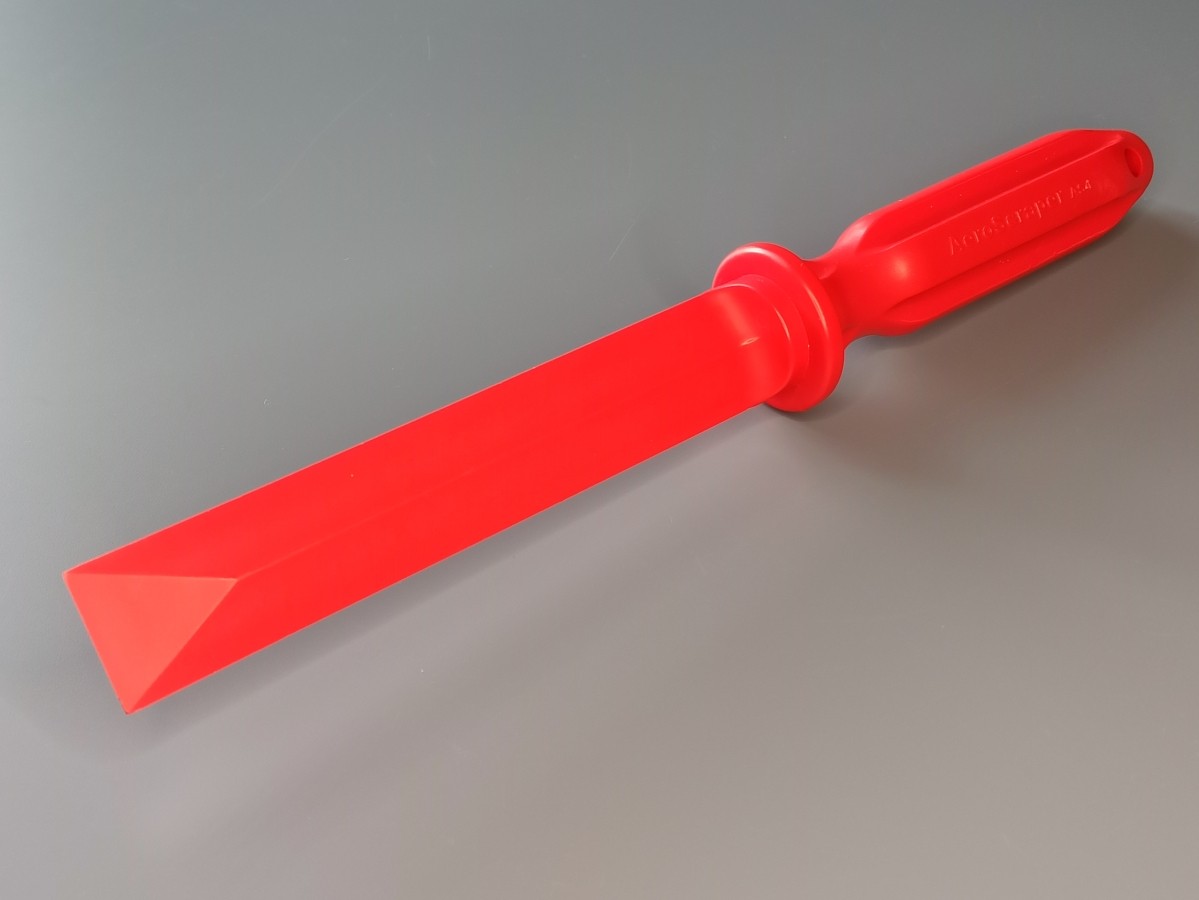
AeroScraper is a manufacturer of sealant removal tools for aerospace industry. Tools are made of semi-crystalline thermoplastic, which is the primary industry approved material.
Our products are safe to use on bare aluminum frames as well as on non-metallic components or substrates. The tools provide good physical strength while being chemically resistant to standard aerospace fluids and solvents.
Semi-crystalline thermoplastic is the material of choice by aircraft manufacturers as it eliminates the risk of scratching or damaging aluminum substrates during aircraft maintenance.
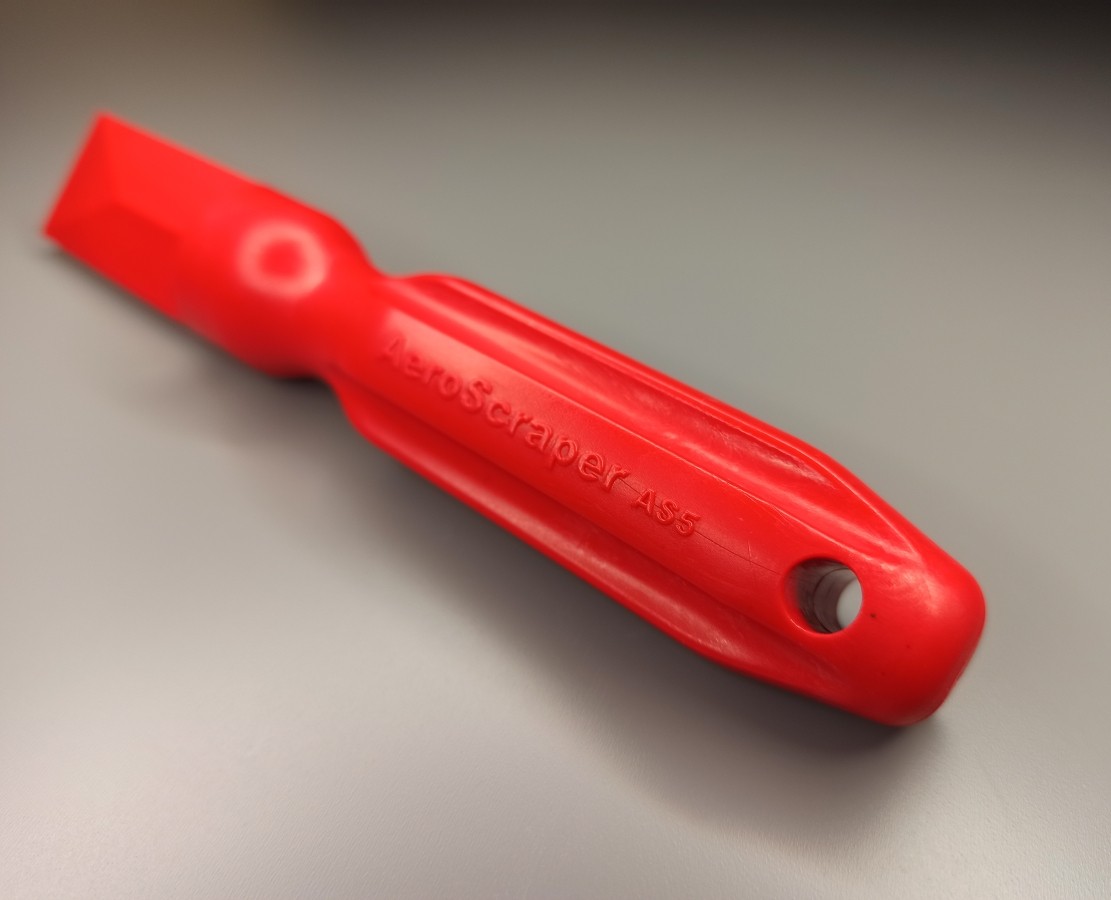
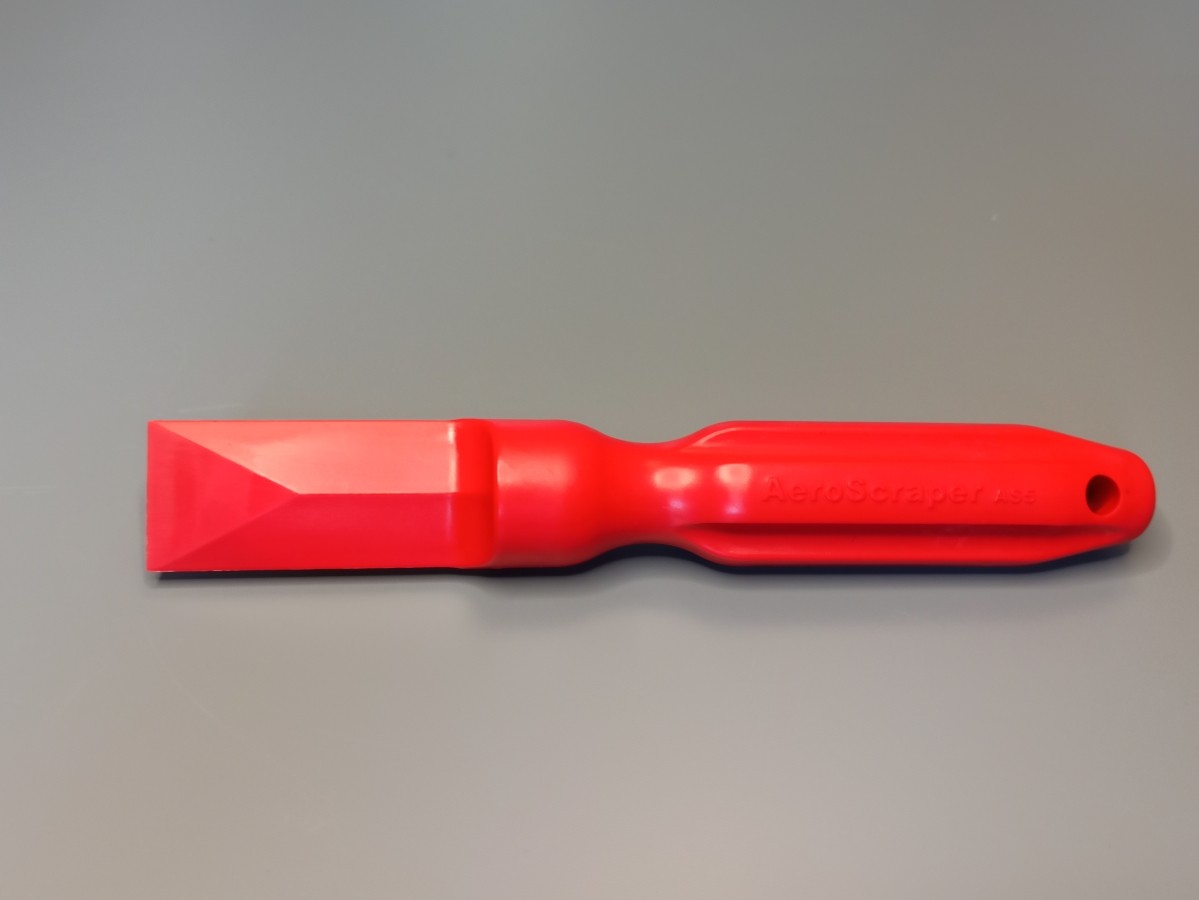
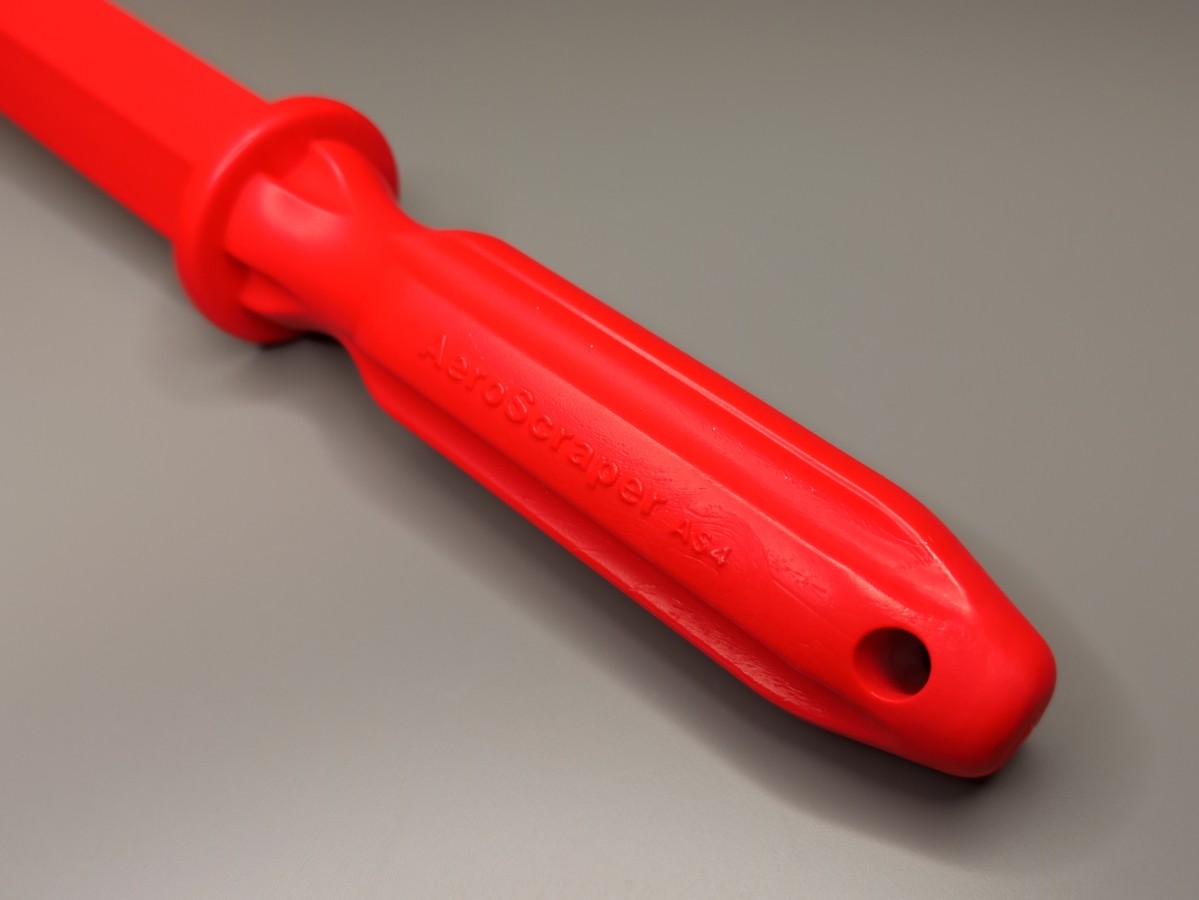
AeroScraper tools provide to end-users comfort and greater control during maintenance work thanks to the ergonomic shape and quality of the tool. In addition to removing sealants, tools are also suitable for removing stickers, loose paint and surface dirt and debris where the use of unapproved tools could lead to damage of the underlying skin or structure.
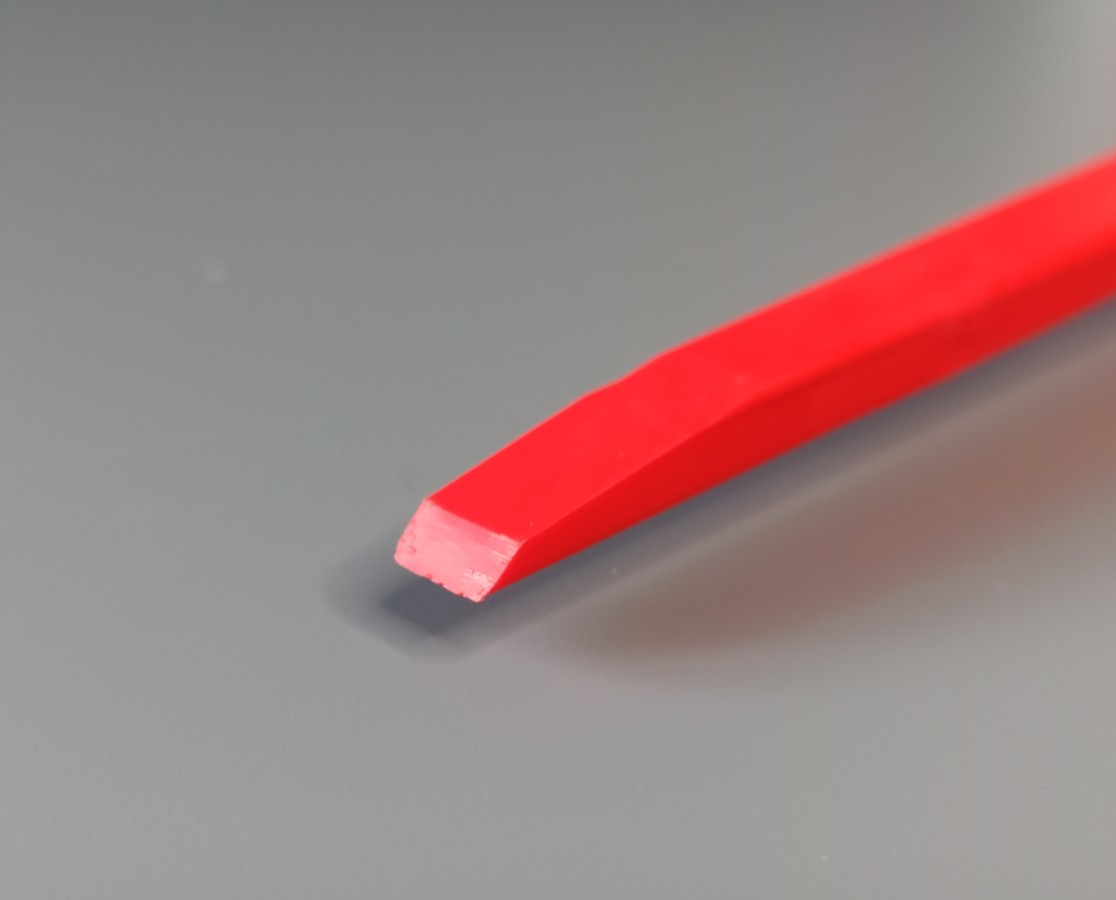
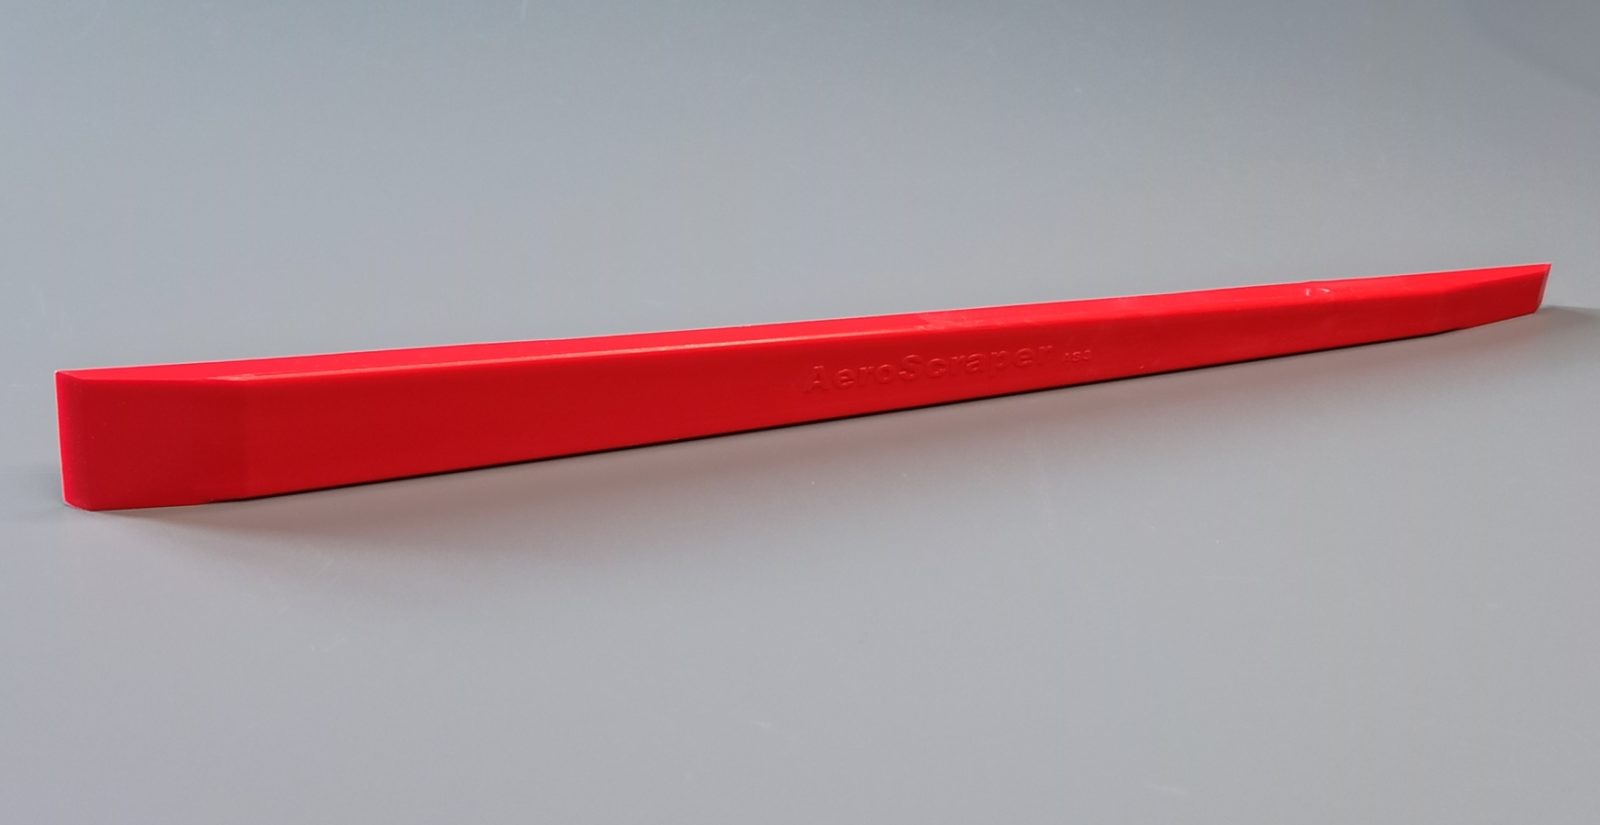
AeroScraper products are easily identifiable in the working environment thanks to specially dedicated luminous red dye used in the product line, making them clearly visible, therefore from a quality control perspective the risk of FOD is minimized during aircraft maintenance activities.
AeroScraper 3-step QC
AeroScraper 3-step QC process guarantees that only the highest quality thermo plastic products are delivered to our customers. We understand there is a wide range of industry standards out there, which is why our 3-step QC plan is in place to ensure we deliver a product that can be trusted across multiple trades and disciplines.
Step 1 – Raw material control – the way we handle raw materials.
- Raw material resin is checked after delivery for any damage or other visible signs of possible contamination material.
- Material is stored as per manufacturers instruction.
- Product type and batch numbers are crossed-checked against order details.
- Product information stored for traceability.
- Certificates stored if available.
Step 2 – Production - Visual inspection of products.
For consistent production standards machinery settings are stored and used each time a batch of product is manufactured. This gives assurance that physical and chemical parameters of the material will always meet our stringent standards after the molding process is completed.
Products are initially inspected directly from the completed molding process before moving on to the next stage of visual checks. Second stage is performed to identify and rectify the following defects that exceed our stringent acceptance criteria.
- Flow lines- caused by the varying speed at which the molten plastic flows as it changes direction through the contours and bends inside the mould tool.
- Sink marks- when the cooling time or the cooling mechanism is insufficient for the plastic to fully cool and cure while in the mould.
- Short shots- when there is an inadequate amount of plastic material to fill the mould.
- Burn marks- caused by the degradation of the plastic material due to excessive heating or by injection speeds that are too fast. The overheating of trapped air, Which etches the surface of the molded part, can also cause burn marks.
- Flash marks- occur when the mould is not clamped together with enough force (a force strong enough to withstand the opposing forces generated by the molten plastic flowing through the mould), which allows the plastic to seep through.
Pareto-Lorenzo method is utilized to determine quality process for AeroScraper production, where statistics are needed to improve production process for each production cycle providing repeatability data. The main advantage of using the Pareto-Lorenz diagram in problem analysis is the universal application, simplicity, and efficiency of this method. It allows for effective solving of quality problems by prioritizing them according to the most important reasons. This tool indicates the priorities that should be worked on in the first place to reduce the problem as quickly and effectively as possible, and thus contribute to a significant improvement in the quality level of a process, product or service.
AeroScraper uses Shewhart chart is utilized to determine quality process for AeroScraper production.
Product samples undergo secondary visual inspection to ensure they match up to our “gold standard” for each batch. Parts at the quality station are inspected for more detailed specifications like measurements or failure tests. Sampling ratio was set on 20:1000.
- Digital calipers measure for parts accuracy.
- If tolerances are met sampling data is recorded.
- 2% product shrinkage allowed according to raw material MSDS.
QC_Shewhart chart tool is utilized to determine quality process for AeroScraper production.
Step 3 - Final Inspection
- Ready products undergo one final inspection to ensure consistency across production.
- Packaging, labeling, storage.
Should a customer request further quality control procedure out with the scope of what we currently provide we will endeavor to introduce and provide a facility for approval within our QA/QC process.
Contact us
- Glasgow office (UK)
-
Iain A. Macleod
Managing Director - +44 7917442004
- iain@aeroscraper.com
- Wroclaw office (Poland)
-
Maciej Szalkowski
Project Manager & Sales - +48 731930330
- contact@aeroscraper.com
Copyright © 2021 | Webmaster: panodstronek.pl

